On this page I will show how we built our own private observatory
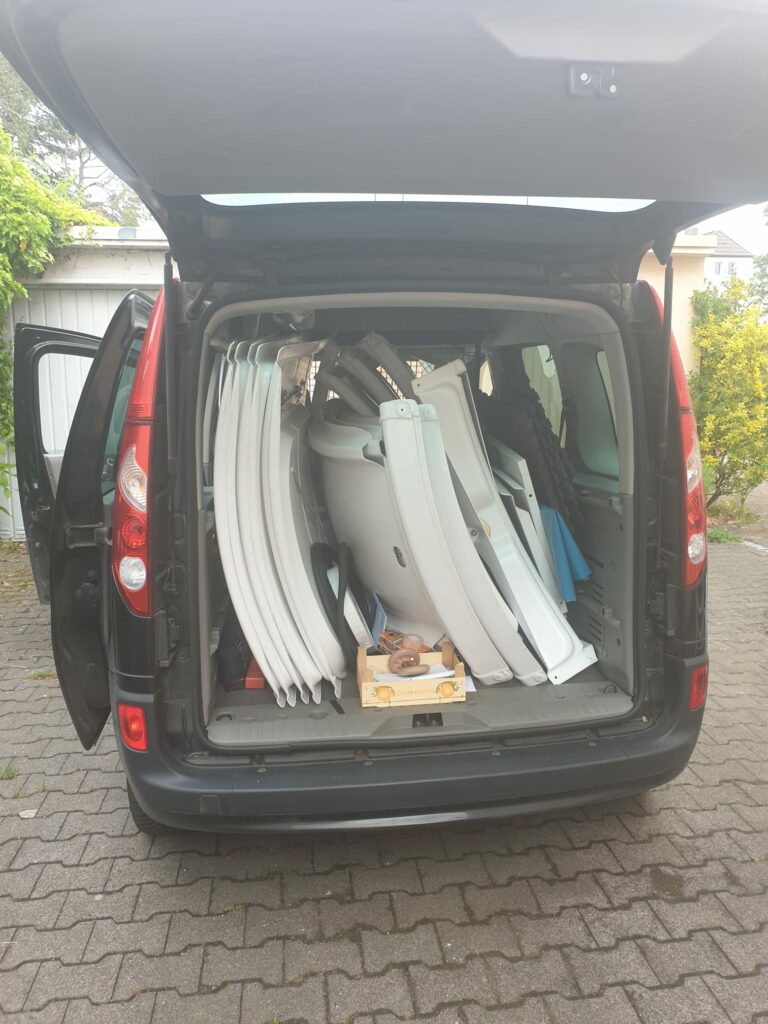
I was used to setting up my telescope for every observation session, connecting all the cables, aligning the mount at Polaris EVERY TIME, and dismantling all the equipment, usually in the middle of the night. At some point this got on my nerves, but also on my father’s, who always helped me with the dismantling, so that we needed another solution that would station the telescope at a permanent location. We started thinking about building an observatory. At first, we thought, we could turn the old storage shed into a retractable roof observatory. We had even made some initial measurements and sketches. In the end, we didn’t realize this idea because it was, well, kind of stupid. It would have been far too complicated and expensive. One evening, however, I found a NexDome observatory on E-Bay at a very good price, which also included a dome rotation motor and a bay extension. Two days later, we picked up the disassembled observatory from the seller.
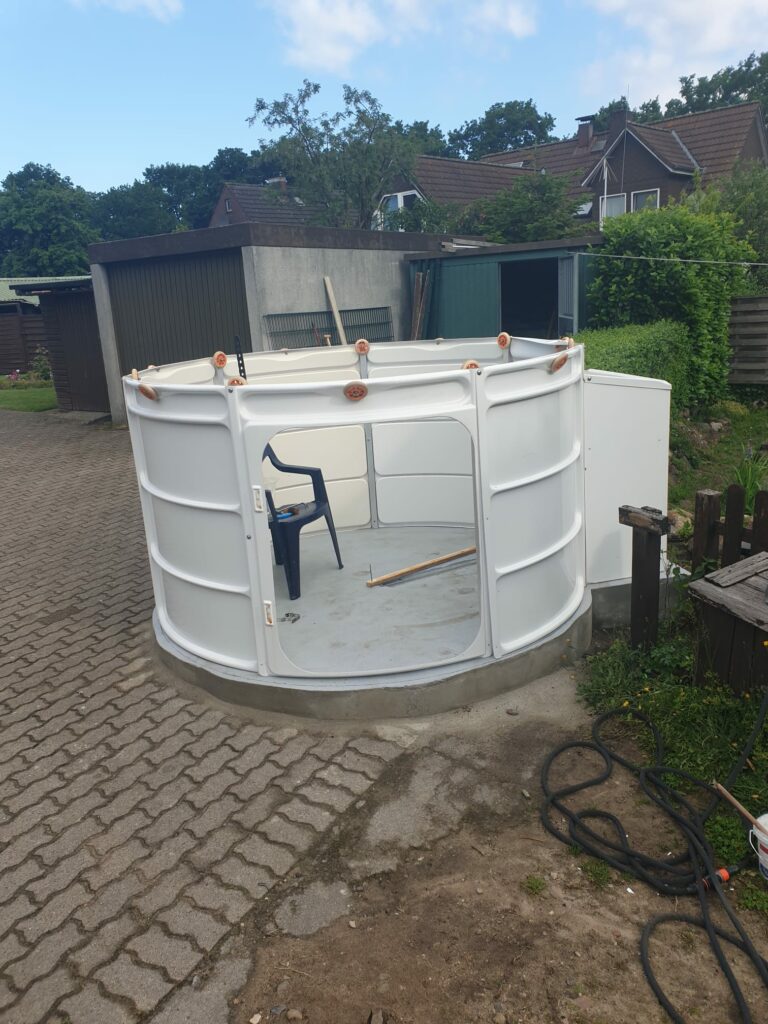
The disassembled observatory
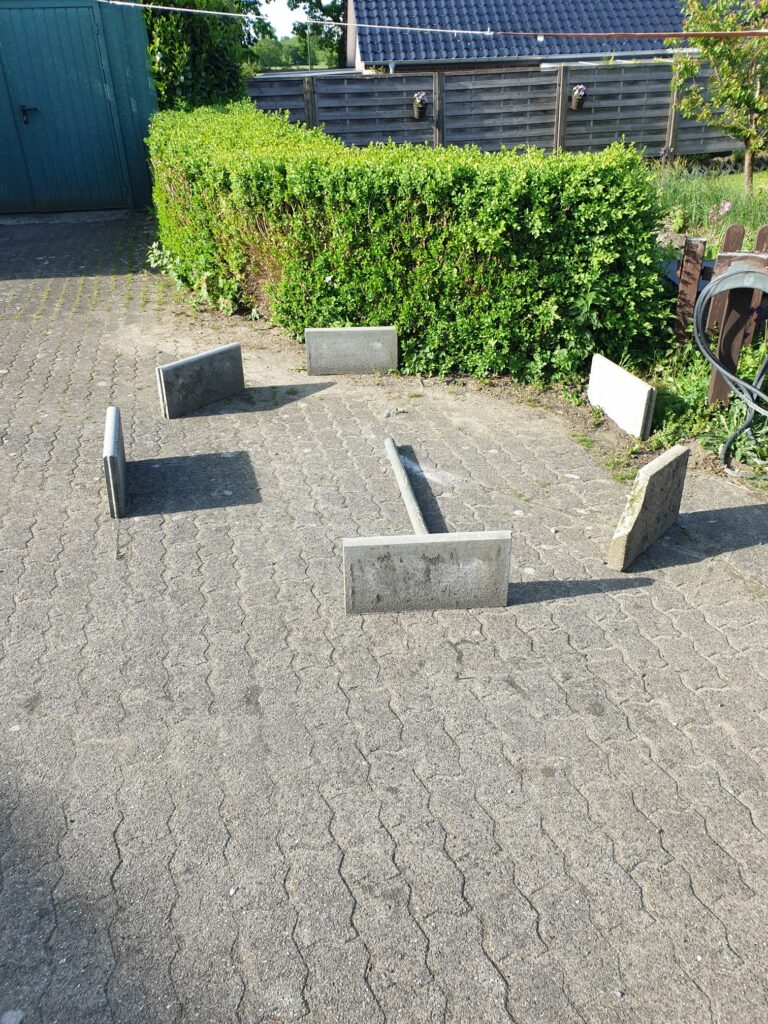
Over the next few days, we then began to make the initial preparations for setting up the observatory. We had decided to set up the observatory very close to our garden shed, as I was to control the system remotely from there. The first thing we did was to mark the outline of the observatory with stones. This would later help us with the concrete foundation. We then also started to plow up half our garden. We needed underground connections from the garden shed to the observatory, which contained network cables, power supply etc. We then buried the cables in normal pipes along the excavated tunnels.
The stone-outline
The underground connections
Once we had finished laying the pipes, we got to work on the observatory’s foundation – this was to be made of concrete. To get the concrete into the right shape later, we built a formwork with small, flexible wooden planks into which the concrete would later be poured. In order to build the formwork, however, we first had to lift the paving stones out of the ground, which I think turned out to be quite difficult.
Getting the paving stones out
The finished formwork
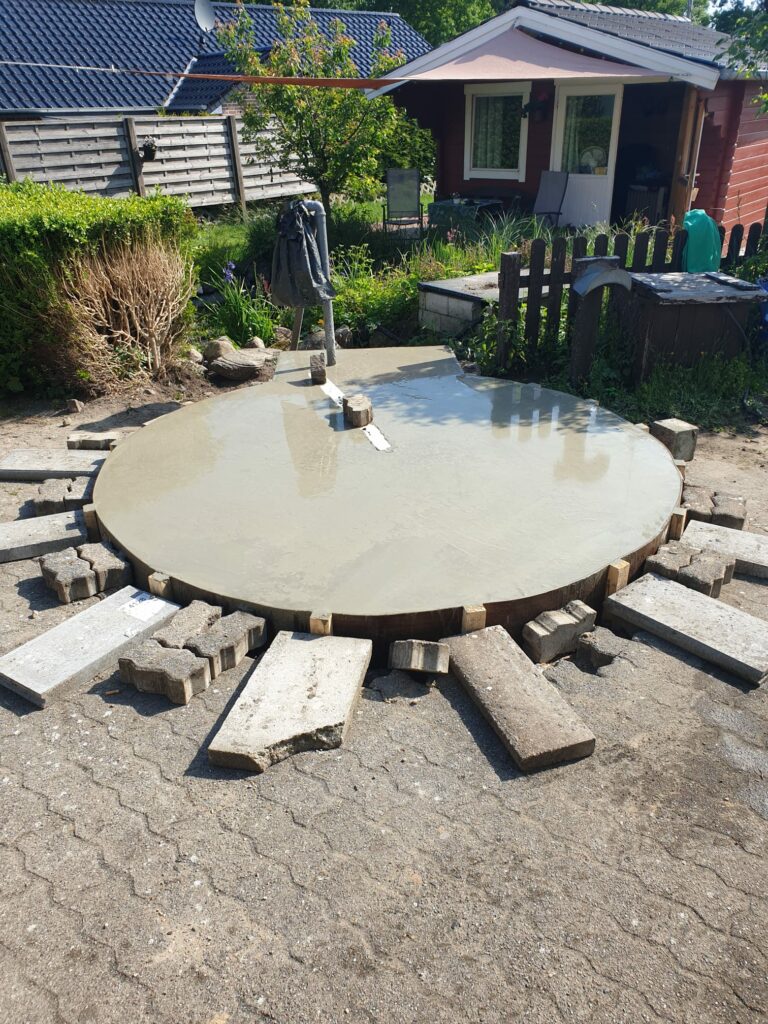
The next step was then to build the foundation. Because the timing was just right and it would make our work a little easier, we asked the farmer next door for concrete. He arrived with an excavator and the foundation was already poured.
The fresh concrete foundation
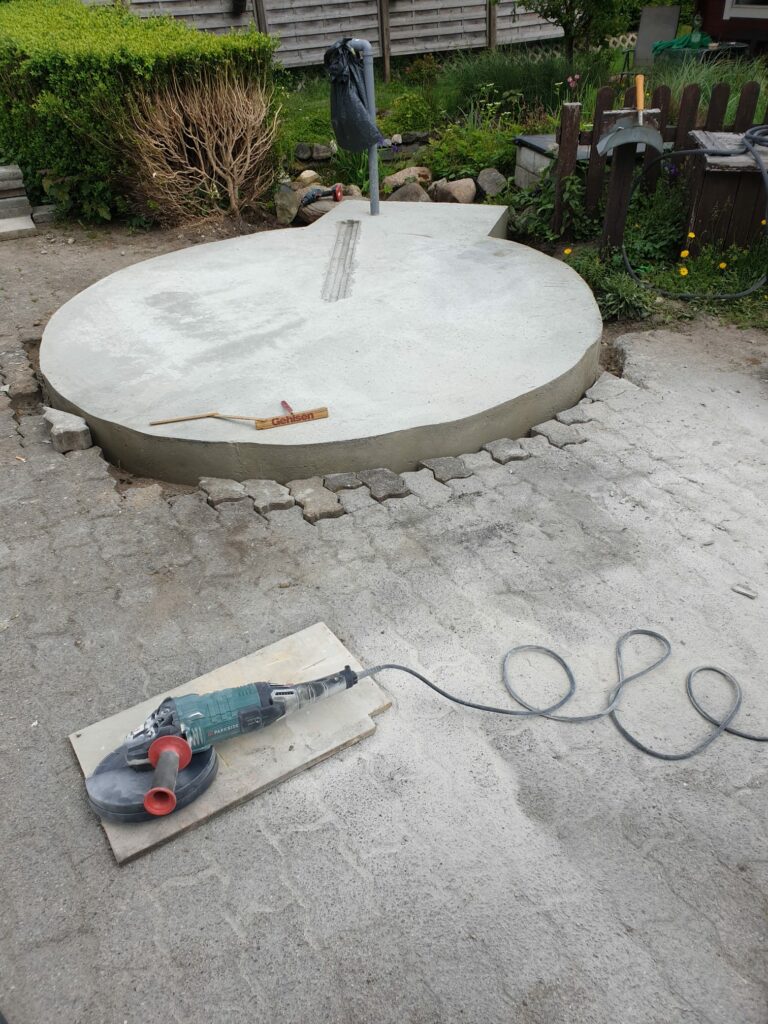
As you can see in the picture, we placed a wooden slat in the concrete foundation. This would later serve as a cable duct.
When the foundation had hardened enough, we wanted to put a few of the stones we had previously lifted out back in to fill the gap. An angle grinder helped us with this.
The hardened foundation
Now it was time to get down to business. The next step was to build the actual observatory. First it was the turn of the walls. The individual segments were attached to metal rods, which we then dowelled into the concrete foundation. Once these were in place, we assembled the dome and placed it on top of the walls. At the top of the walls are small rolls that move the dome in a circle. This movement in turn was to be triggered by the supplied rotation motor, which was attached to the inside of a wall segment. Another challenge was the door. Adjusting it correctly so that it really seals well took us a whole afternoon. The hinges for hanging the door have to be precisely adjusted, as does the metal tensioning cross on the back of the door. In order to adjust the door exactly as required, we had to modify the suspension on the inside of the observatory a little so that the whole thing is a little more variable. Also, the door lock no longer simply moves behind the wall when it is closed. We have built an extra metal holder for it. It is also important to mention that the rubber sealing ring is NOT placed around the door itself, but around the door frame, which we did incorrectly at the beginning.
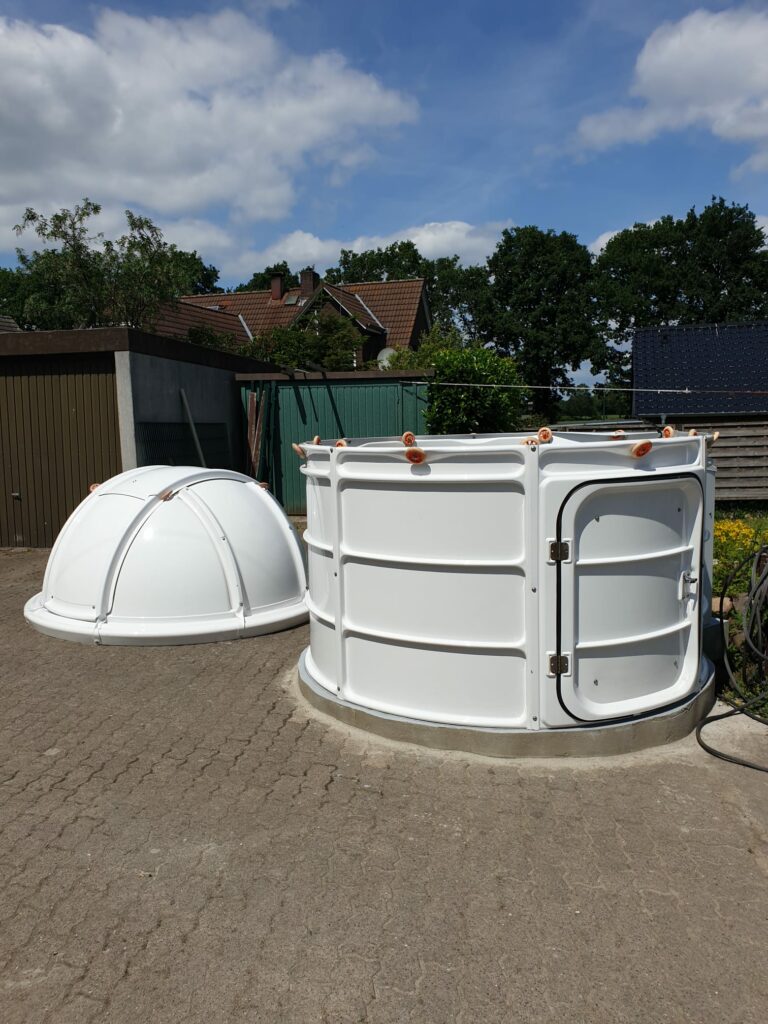
The finished walls
The dome next to the walls
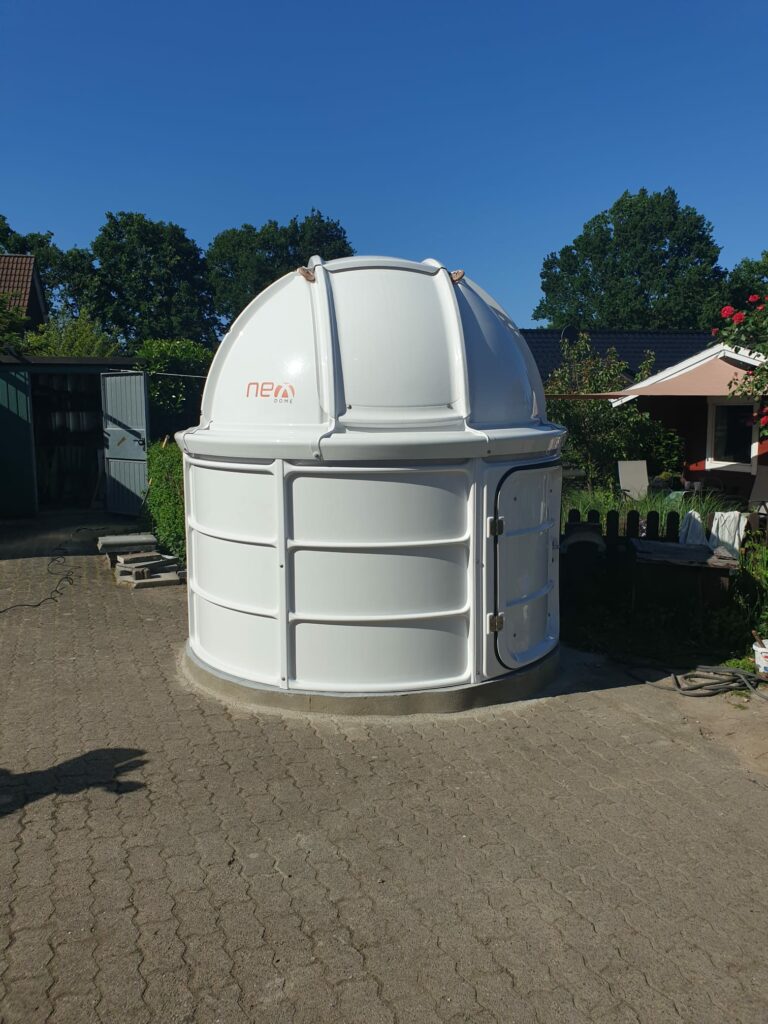
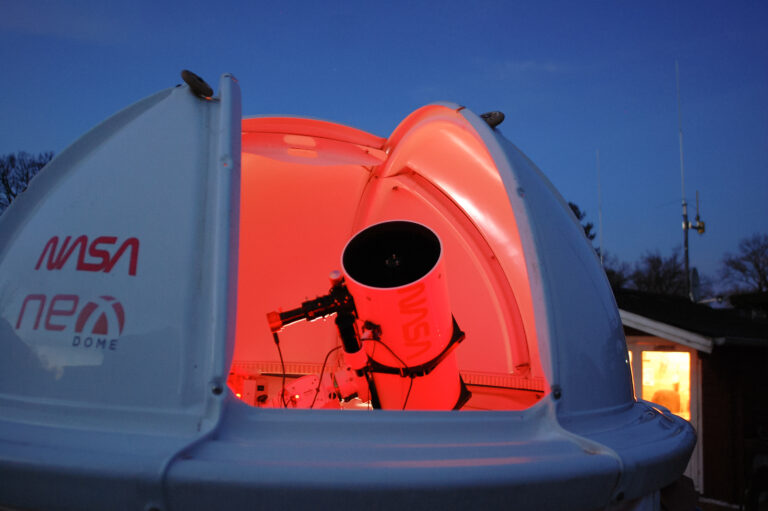
The complete observatory
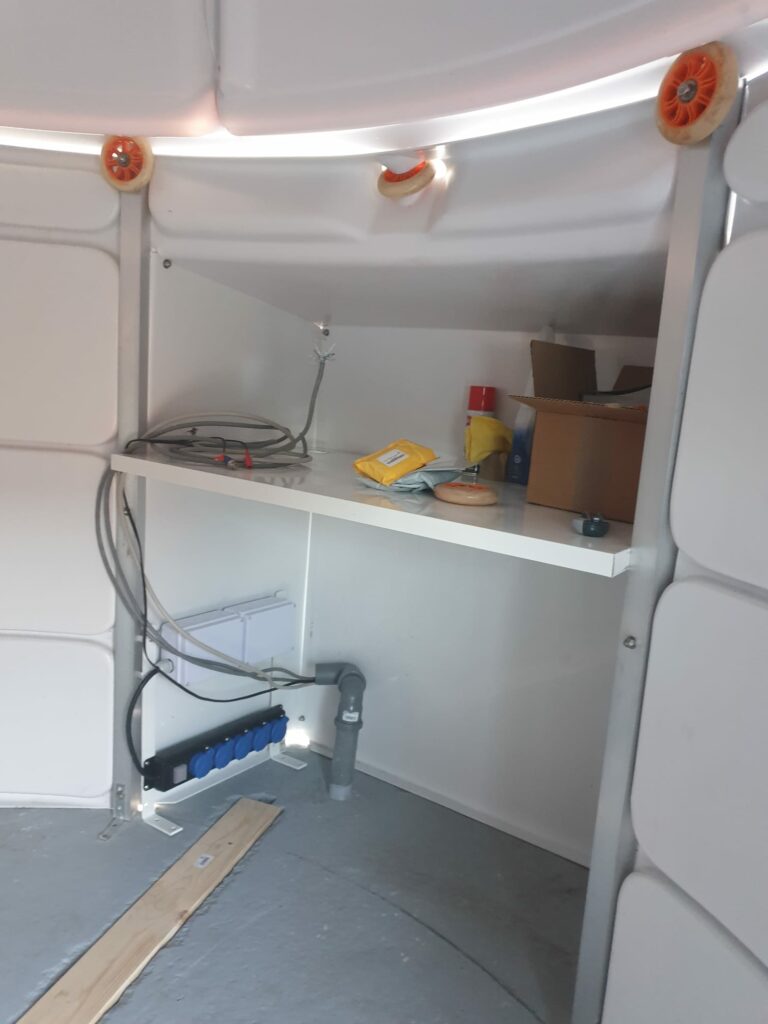
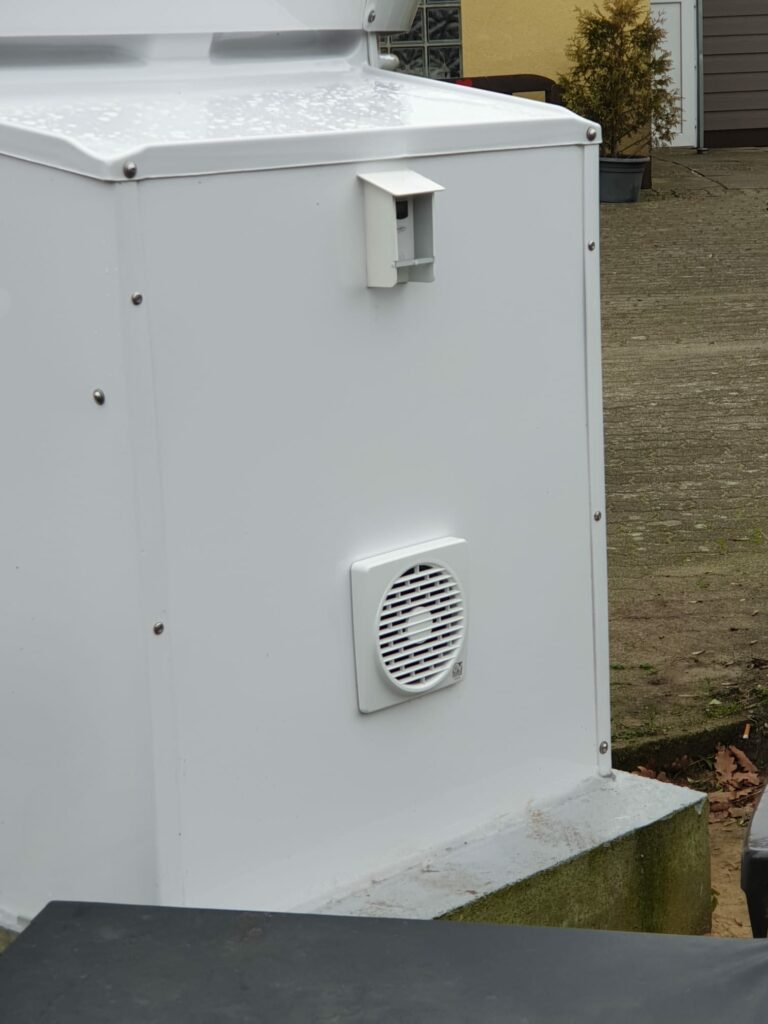
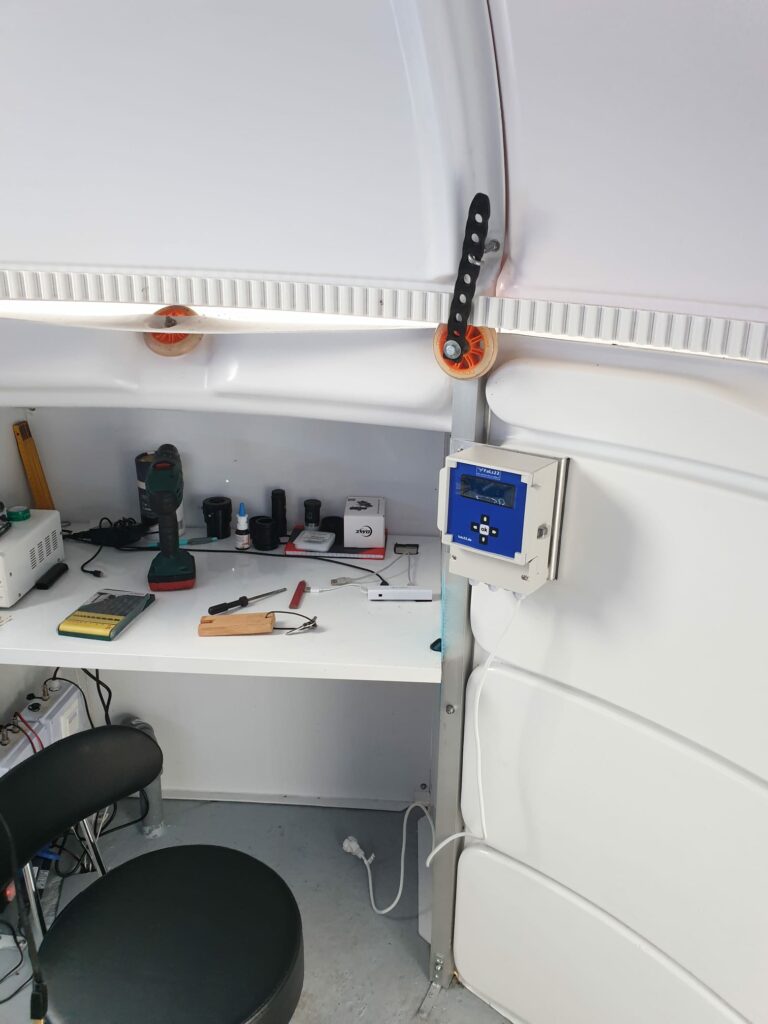
Now came the more technical part. First, we started to install the motor in the observatory that would later move the dome. There is a gear rim on the motor. This moves a glued-on tooth track, which is attached to the inside of the dome with mounting tape. I then also took care of setting up the telescope in the observatory, and Dad took care of the electronics and important cable management. Setting up a telescope in the NexDome observatory is actually worth a blog on its own, but I’ll save myself that. I refer you to the NexDome website. After a few very humid nights, we quickly realized that the observatory was susceptible to water and moisture. So we sealed the bottom edge of the observatory walls inside and out with sealant. We also wanted to avoid moisture inside the observatory. We found a company that actually manufactures ventilation systems for cellars, but the company had not written that the fans are not for observatories 😀 The ventilation system works with two temperature and humidity sensors, for outside and inside. If a certain humidity and temperature difference is measured, the main unit activates a fan to compensate.
The inside of the bay
The fan with the sensor
The main ventilation unit
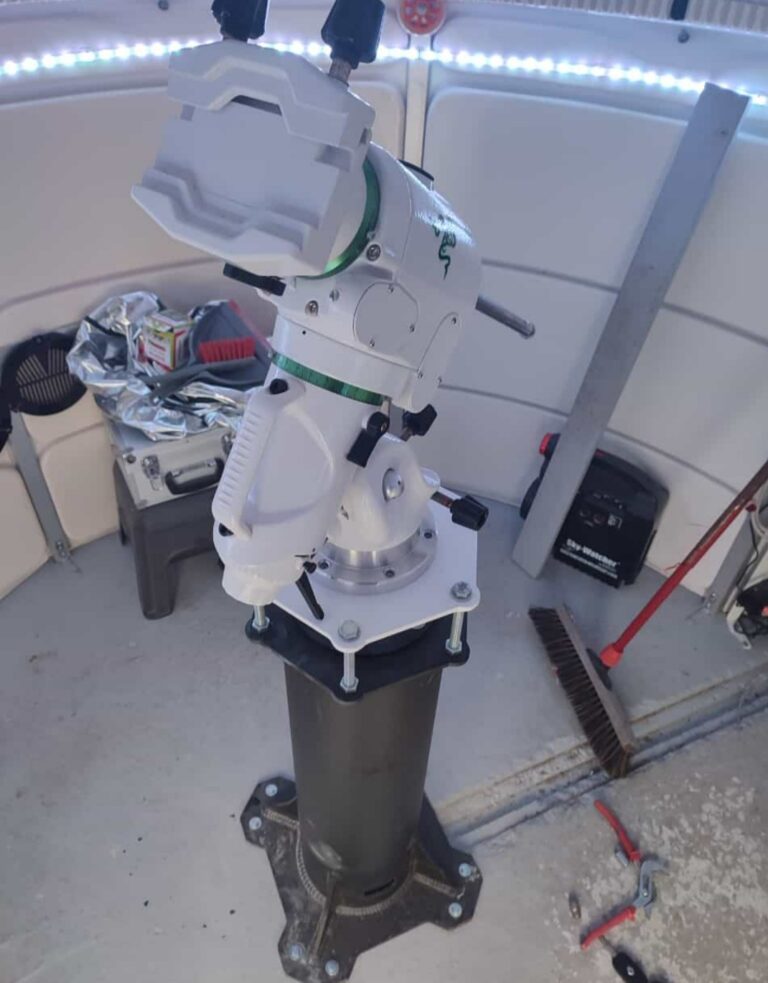
Now the observatory was actually ready for the first shots after all the technical stuff had been installed. The dome rotated with the telescope and everything went great. However, the telescope was still standing on a tripod. For more space and stability, we bought a second-hand pier to support the mount and the telescope. We also dowelled this into the concrete foundation. We also had a green carpet cut to size for the observatory and installed it.
The pier and the mount
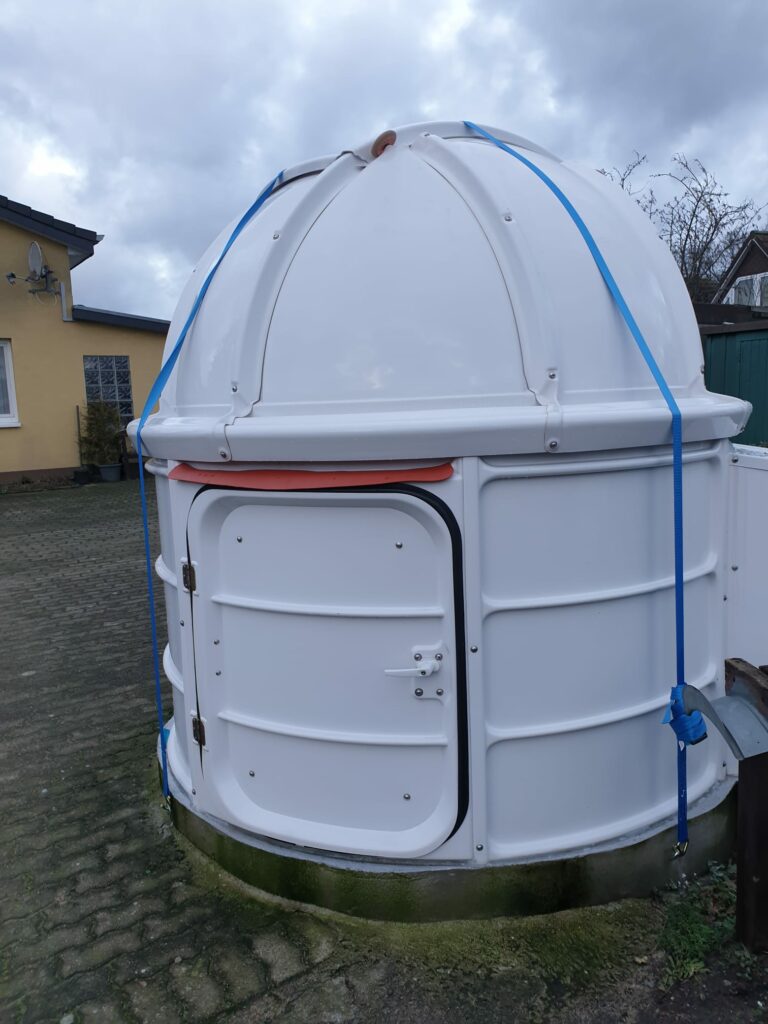
Unfortunately, it is not uncommon for us in northern Germany to have extremely bad weather, so the observatory is quite vulnerable to wind. Although the observatory already has internal storm safety devices, these would be less able to withstand a storm in northern Germany. The solution: tension belts. Whenever bad weather is forecast, I simply go outside and throw one or two tension belts over the observatory. You can pull them really tight so it protects the observatory from the wind very well.
The observatory with the tension bolts
In this picture you can also see an additional orange plastic lip above the door. This is to prevent water from getting into the observatory through the door. I simply stuck it on there with mounting tape.